In this article, we’ll setup a really simple React project template without using Create React App, just importing the necessary libraries.
TL;DR Get a copy of the completed template here: https://github.com/codebubb/react-starter
I don’t know about you but i’m not really a big fan of using scaffolding tools to start projects when you’re first learning a technology.
Sure, they’re great when you’re familiar with the basics of a technology and they help you to get started with a project quickly but if you want to truly understand what all the moving parts of a framework do, then I prefer a stripped down template.
React tutorials seem to be really prone to this.
When I started investigating how to go about approaching learning React, I was suprised by the amount of tutorials that simply get you to install the create-react-app package and don’t really explain what all the components of the React framework are.
So I set about importing React manually and seeing what are the minimum set of tools I needed to get a working app up and running and that’s what we’re going to setup in this tutorial.
Project Setup
Create a new folder and initialise it as an npm package.
mkdir react-starter && cd react-starter
npm init -y
Build tools
There are a few things we’ll want to have a reasonable experience with our template so let’s install Babel, Webpack and ESLint.
npm install --save-dev @babel/core @babel/preset-env @babel-preset-react babel-loader eslint eslint-plugin-react webpack webpack-cli webpack-dev-serverWhoa! That’s of dev dependencies for a small app / template but the truth is we need Babel and Webpack to allow us to write decent, modern JavaScript.
You could probably miss out the ESLint dependencies but I think it’s really useful to have them in there.
We will also need a .babelrc file:
{
    "presets": ["@babel/preset-env", "@babel/preset-react"]
}
Also a config .eslintrc file for ESLint if you’re using it:
{
    "extends": [
        "eslint:recommended",
        "plugin:react/recommended"
    ],
    "env": {
        "browser": true,
        "node": true
    },
    "rules": {
        "class-methods-use-this": "off"
    }
}
I’ve turned off one rule here to stop ESLint complaining about methods that don’t use the this keyword.
This occurs if you have a render method in your React components that is really simple and doesn’t reference any other part of the class so it’s useful to turn it off at least whilst you’re building simple apps.
Finally, we’ll need a webpack.config.js file to configure Webpack:
const path = require('path');

module.exports = {
  output: {
    path: path.join(__dirname, '/dist'),
    filename: 'index.bundle.js',
  },
  devServer: {
    hot: false,
    contentBase: path.join(__dirname, 'src'),
    compress: true,
    port: 3010,
    watchContentBase: true,
    publicPath: '/assets/',
  },
  module: {
    rules: [
      {
        test: /\.(js|jsx)$/,
        exclude: /node_modules/,
        use: {
          loader: 'babel-loader',
        },
      },
    ],
  },
};
This includes some basic rules for the dev server and some rules to transpile our JavaScript.
Optionally, you can add a serve script in to your package.json file:
  "scripts": {
    "serve": "webpack-dev-server --mode development"
  },
React source files
So our dev tools are all setup but we need to install React in order to write our project files.
npm install --save react react-domWebpack looks for source files automatically in a src directory.
Let’s create index.html and index.js files and link them together.
<!DOCTYPE html>
<html lang="en">
<head>
    <meta charset="UTF-8">
    <meta name="viewport" content="width=device-width, initial-scale=1.0">
    <title>Basic React App</title>
</head>
<body>
    <h1>Basic React App</h1>
    <div id="container"></div>
    <script src='./assets/index.bundle.js'></script>
</body>
</html>
Notice how we have a single div element with the id of container which we’ll be using to mount our React app on to.
And for our index.js file:
import React from 'react';
import ReactDOM from 'react-dom';
class App extends React.Component {
render() {
return <div className="app">
<h2>Hello World</h2>
</div>;
}
}
ReactDOM.render(
<App />,
document.getElementById('container'),
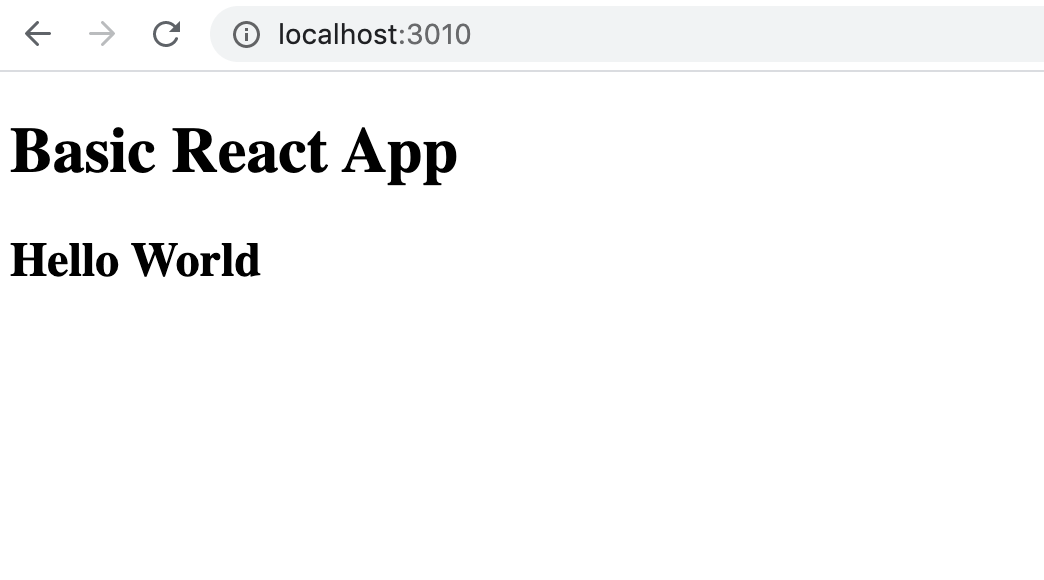
);Run the npm run serve script or use webpack-dev-server manually and hey presto! You’ll have your first basic React template ready to use.
Extending the template
You can start creating your own components and then importing them in to the main index.js template.
In the template repository on GitHub (https://github.com/codebubb/react-starter) you can see where I have created a components folder and imported a simple component into the main app file.